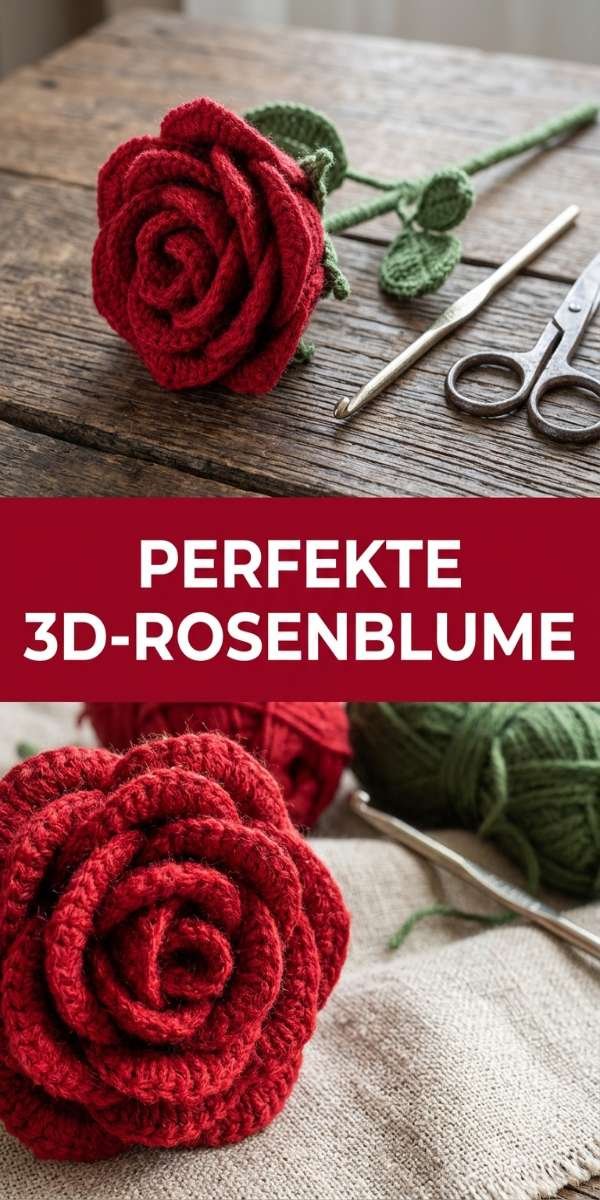
If you’re looking to create a stunning piece that adds charm to any space, the Perfekte 3D-Rosenblume von Kati Crafts is just what you need. This beautiful 3D rose flower is not only visually appealing but also a wonderful gift for loved ones, showcasing your creativity and thoughtfulness. Imagine gifting this handcrafted beauty for birthdays, anniversaries, or just because; it’s a heartfelt way to brighten someone’s day.
As you embark on this crafting journey, you’ll find joy in the process and satisfaction in the finished product. The intricate layers of petals come together beautifully, creating depth and dimension that will impress anyone who sees it.
- Skill level: Beginner friendly
- Time: About 2 to 3 hours
- Finished size: Approximately 10 cm in diameter
- Easy to change: Color and size can change
Materials and Tools for Perfekte 3D-Rosenblume von Kati Crafts
Gathering your materials is essential for a smooth crafting experience. Here’s what you’ll need:
- Yarn: 100 grams of worsted weight yarn in your choice of colors
- Crochet hook: 4 mm hook
- Sewing needle: For weaving ends
- Scissors: To cut yarn
- Pompom maker: Optional for embellishing
- Stitch markers: To track rounds if needed
- Tape measure: For checking dimensions
- Flower wire or floral tape: For adding structure if desired
Before You Start
Before diving into your project, it’s crucial to check your gauge. For this rose flower, aim for approximately 12 stitches per 10 cm using the double crochet stitch. If you’re sewing instead, ensure you have at least a seam allowance of 1 cm for clean edges.
Create a cozy workspace and prepare all your materials within reach. Familiarize yourself with common crochet abbreviations like ch (chain), sc (single crochet), and dc (double crochet) as we will be using these throughout the pattern.
Step by Step: Make Perfekte 3D-Rosenblume von Kati Crafts
This project is straightforward and rewarding; let’s get started!
Step 1: Create the Base Circle
Create a magic ring and ch 3 (counts as first dc). Work 11 dc into the ring. Pull the ring tight and join with a slip stitch to the top of the ch-3. (12 stitches)
Step 2: Build Layers of Petals
Add another round by chaining up 3 again and working two dc in each stitch around; join with a slip stitch at the end to create fullness. (24 stitches)
Step 3: Form Petal Shapes
This round will shape our petals. Ch 4, skip one stitch, then work one dc in the next stitch; repeat around until all petals are formed. Join with slip stitch.
Step 4: Add Depth with Color Changes
If you wish to add multiple colors, introduce them here by changing yarn color at each petal base. Be sure to tie off old yarn securely.
Step 5: Create Inner Petals
To create the inner petals, start by chaining a length of yarn that is suitable for your desired petal size, typically around 10-15 chains. In the second chain from the hook, make a single crochet stitch, and continue making single crochets in each chain until you reach the end of the row.
Step 6: Final Flourish with Edges
Add an edging by working a round of slip stitches or crab stitches around the outer edge for a neat finish that compliments your design.
Step 7: Secure All Ends
Weave in all loose yarn ends using your sewing needle. This will give your flower a polished look while ensuring durability.
Step 8: Optional Structure Enhancement
If you want your flower to stand upright or hold its shape better, consider inserting floral wire through the base or wrapping it with floral tape before finishing touches.
Finishing Touches
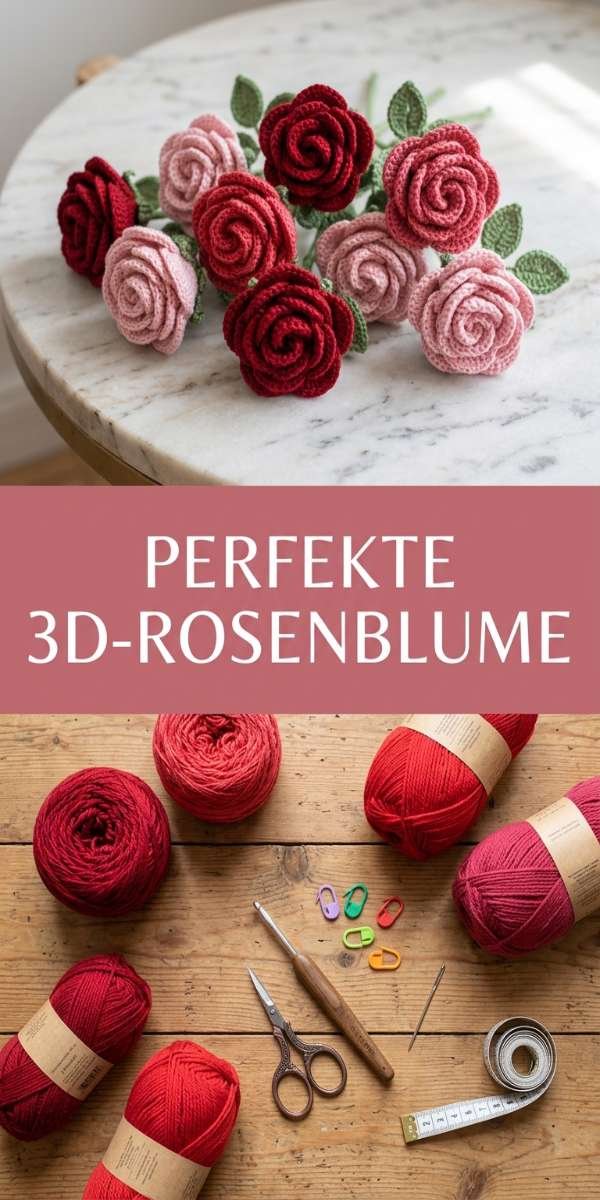
The final steps include weaving in any remaining ends securely so they don’t unravel over time. If crocheting, blocking will help shape your flower beautifully; use steam or damp cloth lightly over it.
Make It Your Own
This project invites creativity! Play with various colors or even add embellishments like beads or sequins on some petals for extra flair. Consider using different yarn textures such as cotton for a softer look or metallic yarn for something eye-catching.
Care and Storage
Your handmade flower deserves proper care! Hand wash gently if needed, lay flat to dry completely before storing in a cool dry place away from direct sunlight to keep colors vibrant.
Pro Tips
- Tension matters: Tighten or loosen your tension as needed to maintain an even look throughout your project.
- Avoid common mistakes: If you forget to count stitches, don’t worry! Just take things slow and refer back if necessary.
- Select useful tools: A good pair of scissors and reliable stitch markers can make all the difference in efficiency!
Conclusion
>
The Perfekte 3D-Rosenblume von Kati Crafts is not only a delightful project but also an opportunity to express creativity through crafting. As you put together this lovely flower, remember that every stitch reflects your personal touch. So gather those materials, find a comfy spot, and allow yourself to enjoy every moment of creating something beautiful! Happy crafting!
FAQs
>
If I make mistakes while crocheting?
No worries! Simply unravel back to where you made an error and start again from there; practice makes perfect!
Puppy chewed my yarn; what now?
You can replace damaged sections easily by tying new strands together securely before continuing with your project.
The petals don’t look right; how do I fix them?
If they appear uneven, try blocking them after finishing as this can help even out shapes significantly!
I want my flower bigger; how do I do that?
You can increase yarn weight or use larger hooks which will result in bigger stitches and ultimately enlarge dimensions of your final product!